Pages

Showing posts with label Free Pattern. Show all posts

Wednesday, October 23, 2013

Buzz! An Improvised Sewn Bee Costume with Basic Directions

For Halloween, my younger daughter wanted a scary costume. Since she's "Little and Brave and not scared of anything scary, except Giants, Bees, and Giant Bees," she naturally decided to be a bee.

The finished costume can fit layers underneath in case it snows at Halloween, keeping my little trick-or-treater warm. I have a black cap that can fit under the headband to keep her ears warm too. I am very pleased with the results! I am so happy with how well the stripes matched, how well the wings turned out, how it's pretty much just as I imagined it! This is very exciting, because I didn't have a pattern to work with, so it's immensely gratifying when what I had in my head really did turn out just so.

Rather than look around for the right size of bee costume pattern since I didn't remember ever seeing any before for older kids (just babies and dogs), I looked through the the pattern box. I found an old costume pattern my mom had given me that included a pumpkin costume, and decided I'd work with that.

At the fabric store, the clerk and I agreed that there was no way I'd need the length of polar fleece I had written down, and so I bought less. Just as well, as it turned out the pattern was actually for kids 10-12. I re-sized the basic pattern piece for the length I wanted for my kid. I have lots of fleece leftover, but not quite twice what I needed at least!

So, in case you want to make a bee costume for a five year-old, the piece is 23.5"/60cm long, 15.5"/39.5cm wide at middle, has 1/4"/1cm on top and bottom for neckband and bottom border, at which point the width is 8.5"/22cm. I drew a long freehand curve from the bottom of the border to the middle, and folded my piece of waxed paper I was using so that I could copy it exactly in the other three areas. This makes an oval sort of shape for the body piece.

Holding the pattern piece up to the kid, I decided that instead of five pieces, I needed only three, so I cut:

Thanks to this photo, I knew where to look for my pattern notes!
-three body pieces out of the yellow polar fleece, and three fusible fleece pieces to match.

-six stripes of black polar fleece (4"/11cm x 15.5"/39.5cm) along with fusible webbing to match.

-two stinger shapes (width being 4"/11cm plus seam allowance), and fusible fleece to match.

I fused all the pieces, measuring out the stripes to be 5.5"/14cm below the neck border, and another 5"/13cm below that.
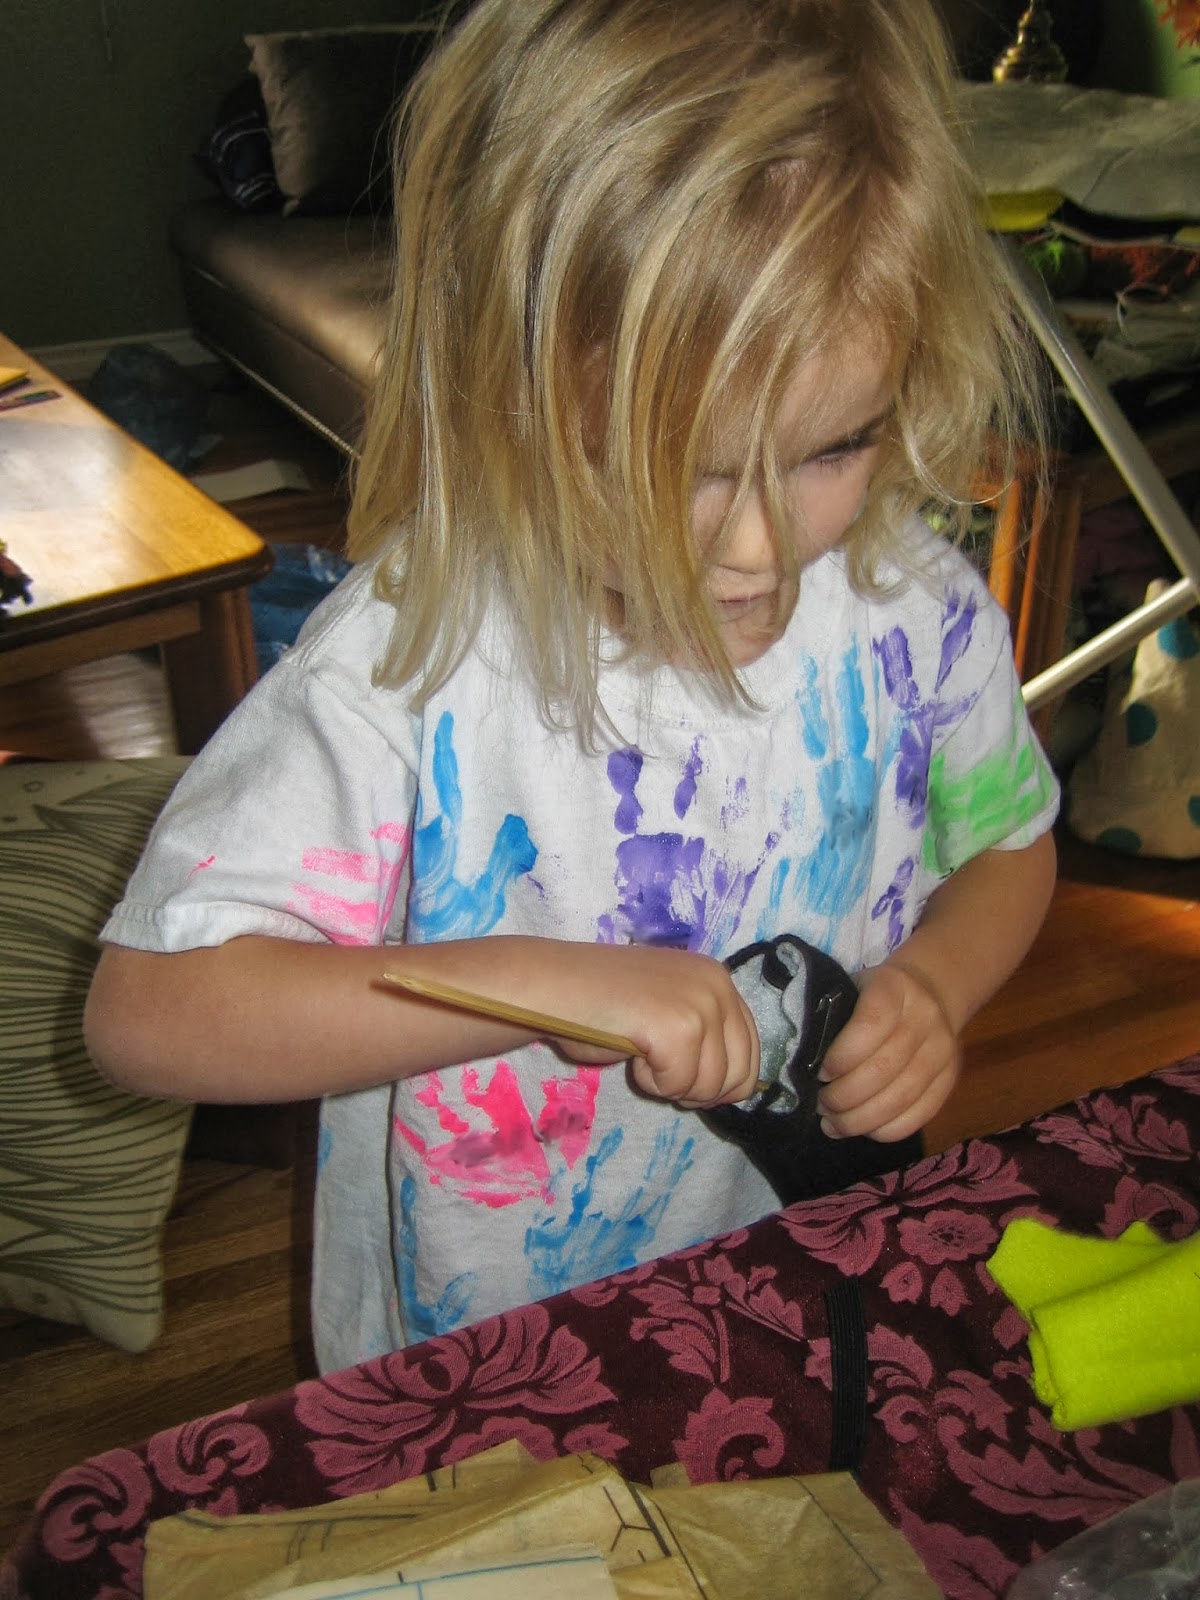
Sewing: Using walking foot (except for the wings). Sewed the two stinger pieces together, clipped curves, turned right-side out, had daughter stuff the thing. Also, sew down the stripes! Not only did it make up for the poor fusing job I'd done with the fleece and backing, but it looked crisper, neater, and nicer after sewing each stripe close to the edge.

Next: Sew the two back pieces together, matching stripes carefully, with the stinger (right sides facing) sandwiched in the lower stripe. Getting the machine to go over the stinger part with the 10 layers of fabric here was not such a treat. It would have been smarter to line up the stripes differently so that there were less layers to work! About eight attempts finally paid off.

The rest was easier: sew front piece to back pieces, again matching stripes (right sides facing, of course), both above and below arm-holes. I left fairly generous spacing for the arms.

Fold back a hem inside the arm-holes for a neater edge (or alternately bind with bias tape) and sew in place.

Form a casing around the neck edge and lower edge with double-fold extra wide bias tape. Insert cord (at least at the top edge. I'm not bothering to do this part with the bottom edge, though it could be cinched up higher this way if desired).


Cut four wing-shapes with the fusible fleece and fuse them into two wings. Draw veins on the wings to look like bee wings. Stitch over these lines with black thread. Remember right after finishing that you have a fabric marker that could have been used for this, but decide that it probably looks better this way instead, and that now you've decided that machine quilting or machine embroidery can be downgraded from Too-frightening-to-contemplate to I-could-probably-try-that.

Sew wings into place using satin-stitch around the middle edges, including about an inch outwards across the top and bottom.


Take photos of very cute bee who is clearly delighted.


Monday, November 07, 2011

Cowl of Skaro

My daughter needed a new neck-warmer, so I made her one.

Since she loves bobbles, it has bobbles.


Since it reminds my husband and I of Daleks, I called it the Cowl of Skaro.

Since that's too fun not to share, I wrote it up, and am sharing it as a free pattern download.

Details:


Sizing: Small (Medium)(Large).Circumference: 16”/40cm (18”/46cm)(19”/48.5cm). The cowl is fairly stretchy (the medium stretches to a circumference of 30”/76.5cm).

Yarn: Loops and Threads Cozy Wool, Super Bulky. (50% Wool, 50% Acrylic; 90 yards/82m , 4.5oz/127 gram ball), Velvet: 1(1)(2) ball(s). 
 
Gauge: 16sts and 18 rows/4 inches in p2,k1,p2,k2 rib on 6mm circular needles.
 

It's a quick and easy pattern. What are you waiting for?
download now


Friday, March 25, 2011

In Which a Sock-Related Epiphany Occurs, a Scarf is Crocheted, and a Pattern Included

About a month ago, my husband observed something more or less like "you don't like knitting socks," which rather surprised me. Of course I like knitting socks. I have several socks on the go, I buy sock yarn, I really love turning heels and finishing toes.  So, it's not that I don't like knitting socks, but, I do have to admit, he has a point. I apparently don't love knitting them as much as I think I do if you actually look at the amount of zeal I put into knitting all my other projects, and the incredibly long time it takes me to get through a pair of socks (since I leave them to languish for weeks at a time without attention).  I still intend to knit socks, and I still enjoy knitting socks, and still have several sock patterns in the queue, but I realize now that I really don't need to have more than one sock-in-progress at a time, and I don't need to use all my sock yarn for socks (unless I want to).

I have a nice little Zauberball hanging about, that was bought for making socks, and certainly didn't get knit into St. Patrick's Day socks as intended. The other day I decided that not only am I not going to knit that Zauberball into socks, but I'm not going to knit it at all. I'm crocheting it into a Boteh Scarf (by Kathy Merrick), and a lovely thing it is too.


I'll be sure to take some better pictures to show it off properly once it's finished.  I'm really enjoying the process, and it's hard to put it down to do things like eat dinner, but it works up quickly, so be sure I won't starve in the meantime.

It's so very nice to do a spot of crochet now and again, and it reminded me that it's Crochet Month (at least, it is in the States, I'm not so sure about up here in Canada), and so why don't I add a crochet pattern to the blog? Now, I've had this pattern available on Ravelry for some time, but thought just the other day that perhaps a few readers would like to see it here too.

So, without further ado, here are a set of Tapestry Dice Bags (though, to be sure, you could use them for marbles or any other sort of treasure), just right for your favourite gaming group (we've been known to pull out the GURPS books, or even a bit of DnD now and again), and really, what mage doesn't need a dice bag adorned with fireballs?


Hope you enjoy them; happy crochet month!
download now

Wednesday, September 22, 2010

Thumb Cover Pattern

My four-year-old is still sucking her thumb, but is starting to think about quitting.  When I asked her how I could help her to remember not to suck her thumb, she suggested that I make her a glove.  So, I did, but just for the thumb.  I can't guarantee that this will work for everyone, but there are two things about this approach that make me optimistic:

1. It was her idea, so she is invested in the project, which is great, because if she doesn't want to stop, she won't.
2. It works; at least as long as she is wearing it.

This means we need to keep track of it and have a few spares lest she leave it laying around, hide it, bite through a stitch that came loose, (saying "There!  Good as new!"), one is in the wash, etc.  The first one I made her is still at large somewhere, but number 2 was found today, and number 3's whereabouts are also known, so hopefully I can get back to my regular crafting queue now.

My daughter, wearing Thumb-Cover Version 1, now Missing-in-Action.  (She's coaching her little sister to use the camera).


Anyhow, after working out a thumb-cover, making a new one to replace the lost one, plus a spare, I have a pattern to share.  After finishing work on them, I did find on Ravelry that there are a couple of patterns for this sort of thing, but since mine is a bit different, I thought I'd share it for those who would rather work from the cuff up.  Otherwise, for those who would rather work tip-down and with short-rows, I direct you to the (Ravelry Link) Thumb Thingy by Allena Williams and for those who would like to crochet, this pattern by Charlene T.

Krazy-Stripes Thumb-cover


Thumb Cover

Materials:

Sock-Yarn scraps, or any fingering weight yarn, with fun colours and softness (so that the kid is more willing to wear it) being recommended.  The two featured yarns are Kroy Socks 'Krazy Stripes' and Claudia Hand-paint fingering.

2.5 mm double-pointed needles

Needle for weaving-in ends

Directions:

Cuff

Thumb Cover in Claudia Hand-Paint
Cast-on 38 stitches, then, after arranging the stitches on the needles, join in the round.

Work in single ribbing (*knit 1, purl 1* repeat) for 8 rounds.

Bind-off 30 stitches, then continue in ribbing for the following 8 stitches.

Turn work, and, working back and forth in stockinette (starting and ending with a purl row), work 7 rows.

Thumb

Knit 8, then, using the backwards loop method, cast-on 8 stitches, and join again in the round on double-pointed needles.

Knit 12 rounds.

Thumb-shaping and Finishing

-SSK, K4, K2tog, SSK, K4, K2tog
-knit one round
-SSK, K2, K2tog, SSK, K2, K2tog
-SSK, K2tog, SSK, K2tog

Break yarn, pull through remaining stitches, and weave in ends.


Tuesday, June 08, 2010

Quick Fix Tutorial

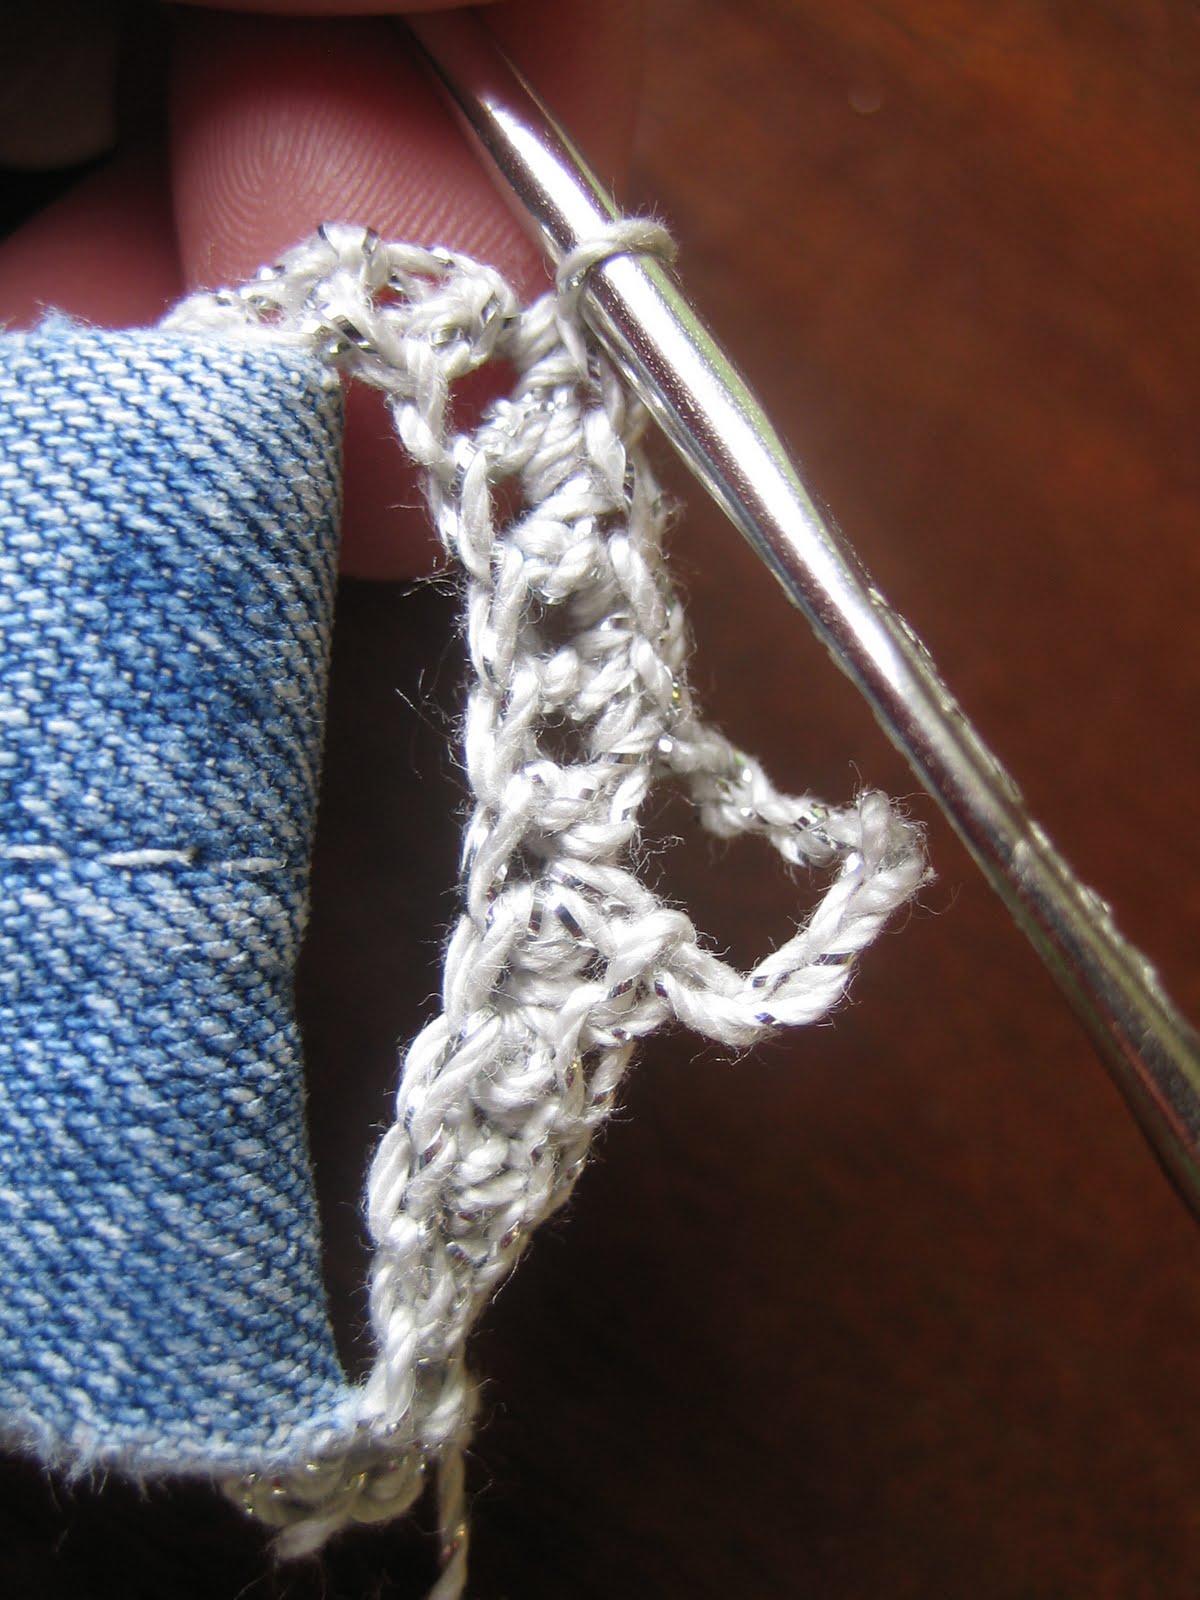
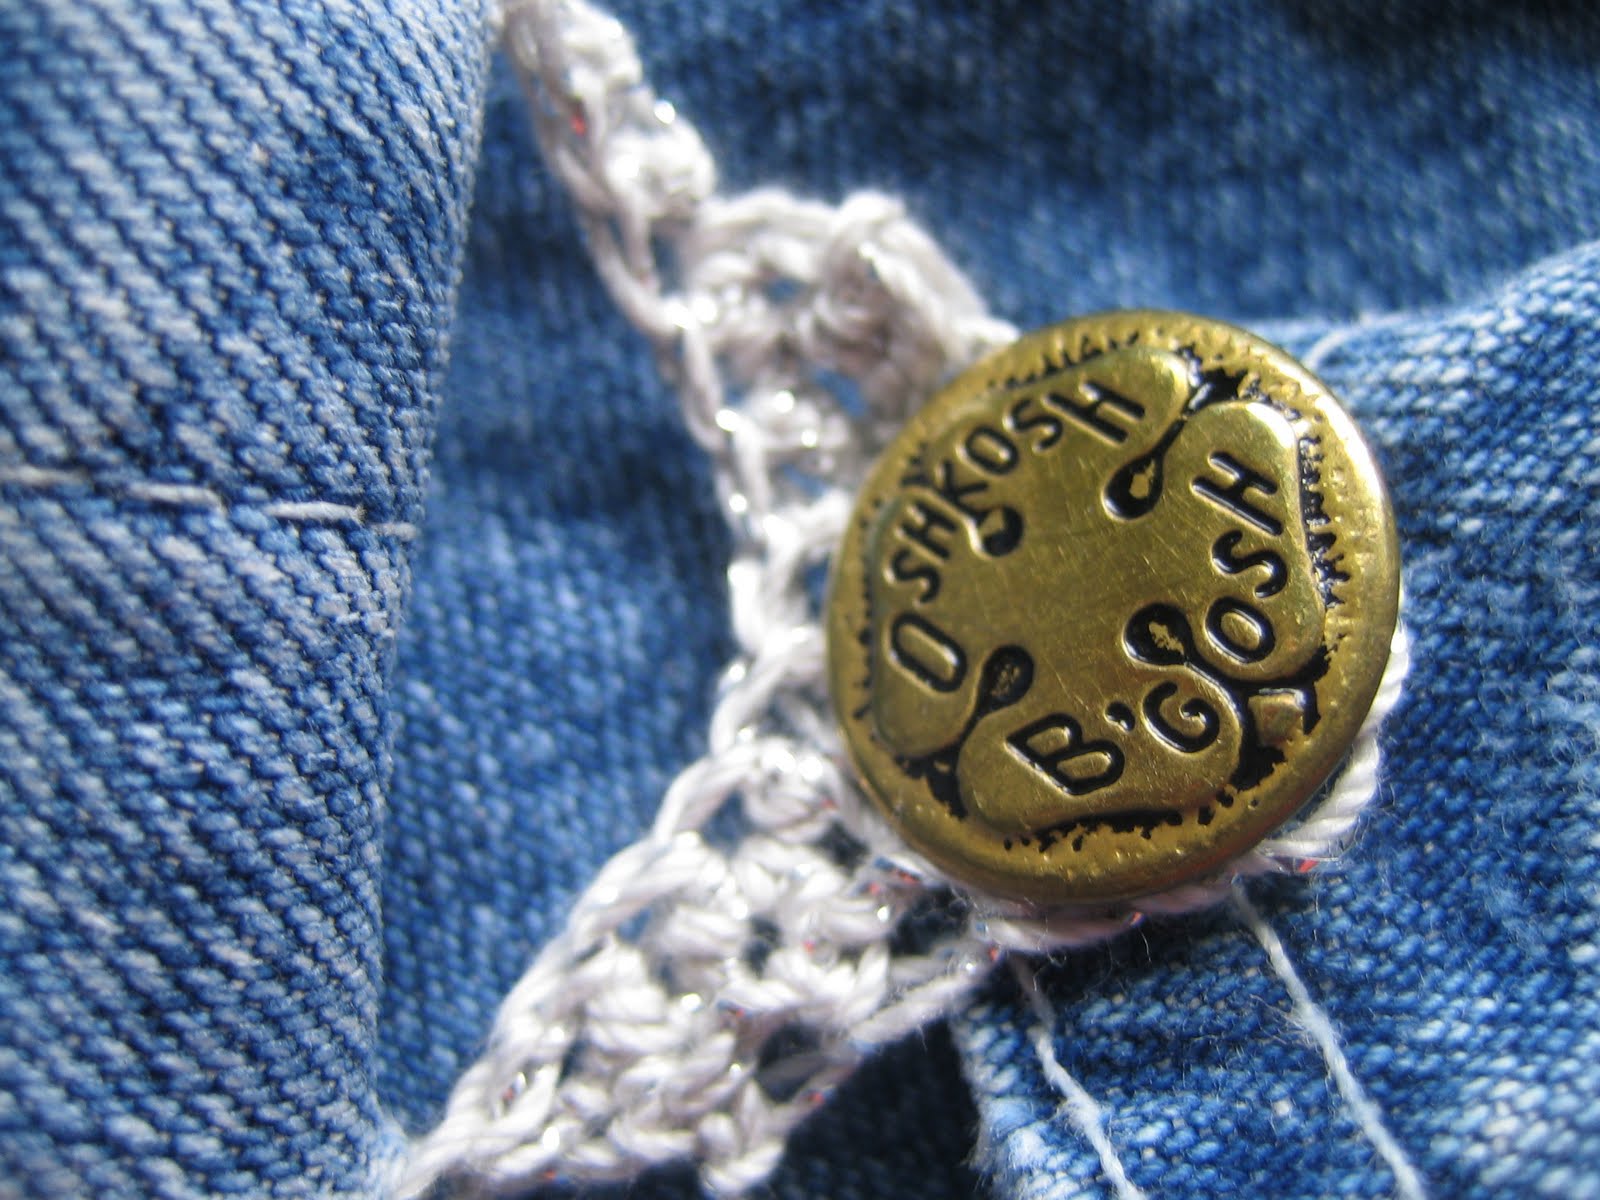
A while back, the buckle on my daughter's overalls broke off (followed shortly by the other one).  As these were my favourite pair and kids grow so fast, I wanted to fix them quickly.  So, I did a quick bit of crochet, and the overalls were again wearable.  I had a few requests to publish the pattern, but didn't really get to it, as it doesn't really seem like a pattern.  The idea seemed somewhat intuitive to me, but, as different things are intuitive to different people (and goodness knows, there's plenty of things I would still be clueless about if it were not for the fine tutorials that abound in the world of craft blogs), when another buckle broke on a pair of overalls this year (really), I thought I'd do up a quick tutorial after all. Here goes:

Quick Fix

Materials:
  • Item that needs fixing in this manner, such as overalls sans buckle
  • Crochet cotton, in this case J&P Coats Royale Metallic Crochet Thread (though spare laceweight or fingering would likely do)
  • Crochet hook.  Here I'm using a steel 2/2.75 mm, but whatever seems small enough to work with your yarn is fine.
1.Foundation Single Crochet (FSC)* until your row is just bigger (by one or two stitches) then the overall strap (in this case, I used 10 sts).  Keep on with the FSC until you have twice that number (or slightly less if you want a tighter 'buckle').  Move your work into place around the overall strap, then slipstitch to your first stitch.  Ch 1, turn.
 
2.SC to middle of upper row (half the stitches, less two for the sides, in this case, 4 sts), then chain enough to fit your button snugly (it will stretch a bit, but probably shrink in the wash too, so aim for just right.  I chained 7 stitches for this one).  Rejoin with a SC in the next stitch, then SC across the remainder of the topside row. (Here, 15 sts total, being 8 SC and 7 Chain stitches). Ch 1, turn.


3.Working back across topside row, SC2Tog, SC2Tog, SC (number of chains in loop, in this case 7) into loop, SC2Tog, SC2Tog.  (About the SC2Togs: If you have a different number of stitches, do whatever combination of SC2Togs and SC that makes sense for symmetry.  You can also just SC instead of SC2Tog if you like for that matter; I just liked how it looked).
4.Tie off, weave in ends, and enjoy your clever rescue of a perfectly good piece of clothing that had nearly been wrecked by a silly bit of weak metal.


This particular sample of mine turned out a bit loose, which is fine, since the overalls are adjustable.  If your garment/object requires more precision, then use less stitches in your original foundation to make the 'buckle' tighter.


*If you haven't tried Foundation Single Crochet before, well, really.  You must.  It's the best thing since sliced bacon (as my husband points out, ever since buying both unsliced bread and bacon, bread is way easier to slice neatly), and futuregirl.com has a great tutorial (just click on tutorials, over on the top left of the main page).