Quickie Piping While Seaming Tutorial Using the Amazing Powers of Crochet
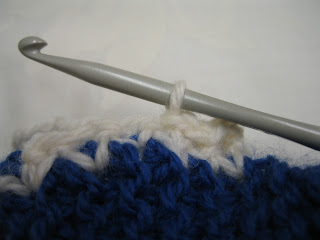
 Take your trusty crochet hook in hand (I used a size that was a mm smaller than what I was using for the main project, so, in this case, 5.5 mm), put it thorough the corner (assuming your project has corners) edge that you want to start seaming with and then through the other piece that you are joining, having lined it up where you want it. If you are working in the round, have the right side facing, but if you are working flat (not coming back in a circle to the point you started with), then start with the wrong side facing. Having made a slip knot in the yarn you are using for the piping, put it on the hook, pull it through the layers, then pull a loop through the loop on the hook.
From here, work a single crochet (I should mention that I'm using Northern American terminology throughout) in this stitch, then in each pair of stitches through both layers along to the next corner. Where there are corners, work three single crochet instead of one. Proceed along in this manner until you reach the end of your work, and, if in the round, work a slip stitch to join your first stitch of piping.

If in the round, continue around, working slip stitches around the piping into each single crochet. If working flat, you'll have to turn your work, then work the slip stitches back along the piping.
Ta-Da! Piping and finishing in a fraction of the time it would have taken to sew up your project, make I-cord piping, and sew on the piping after.

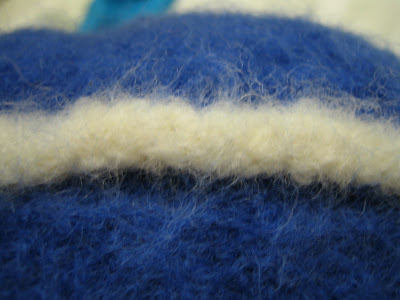
Here's my piping post-felting:

Publish Post
Happy Hooking!


No comments:
Post a Comment